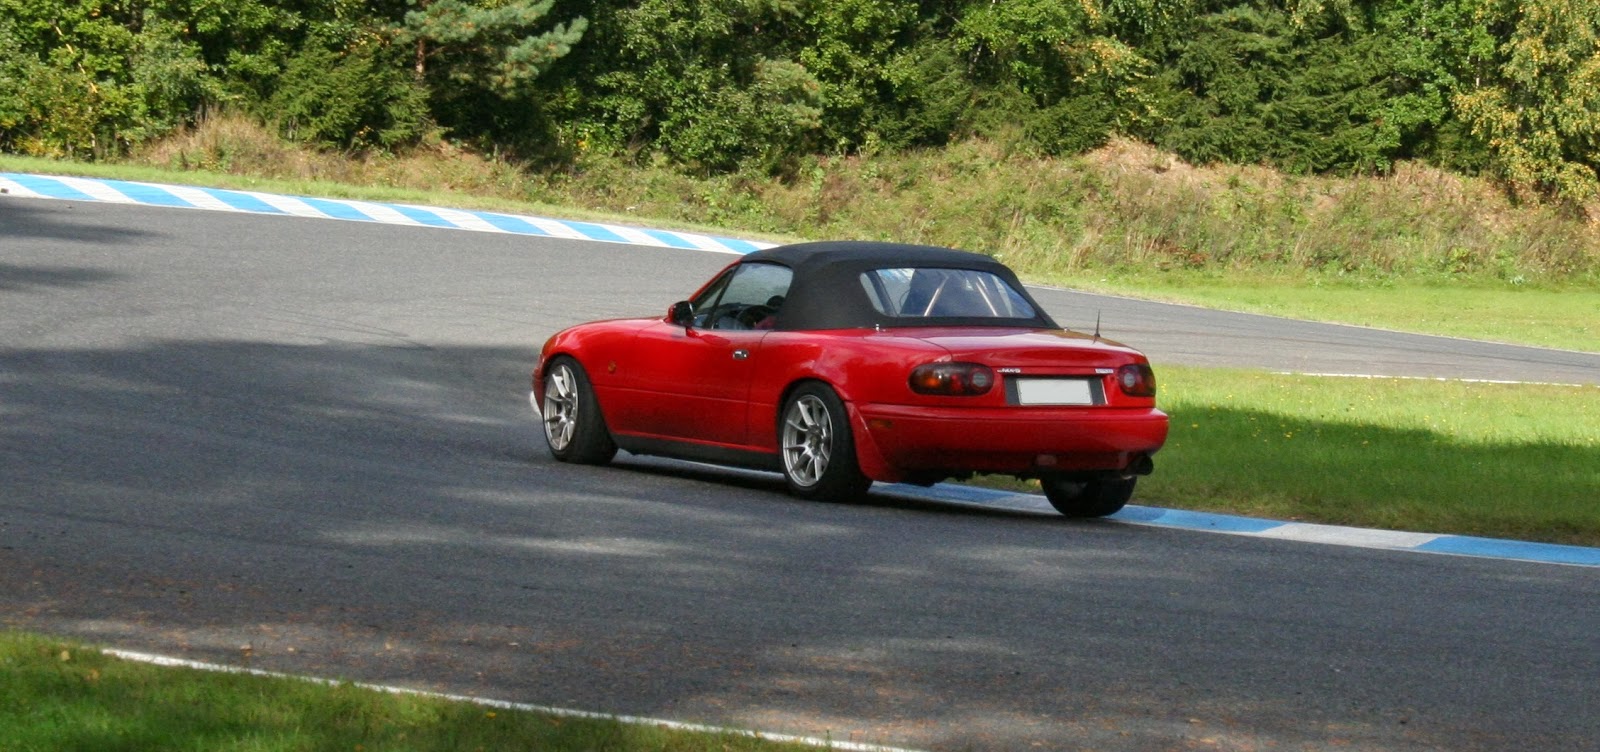
Monday, March 10, 2014

Chassis supports – 2nd measurement


I made a couple of additional measurements motivated by a reader’s comment. Last time in “Chassis supports and door bars – project ready” I used car’s own weight to bend the front and rear downwards. This time I put weight on the door sill and measured the bending that way.

Here are the results:

Weight 70 kg, without door bar. Left: 0,35 mm. Right 0,35 mm.
Weight 70 kg, with door bar: Left: 0,27 mm. Right 0,27 mm.

Weight 100 kg, without door bar. Left: 0,51 mm. Right 0,49 mm.
Weight 100 kg, with door bar: Left: 0,39 mm. Right 0,40 mm.

Conclusion is that door bars reduce bending 18-23 % when measured with 70-100 kg weight. Sounds nice, doesn’t it!

Seriously, deflection with 100 kg is less than half millimeter measured from the height of windscreen frame. Bars seem to work and they give some extra stiffness to old car’s chassis.

Saturday, February 22, 2014

More NA POWER part 4: B6ZE cam specs and cam timing


It is hard to find documented data about the effect of cam timing in B6ZE. There are some general rules, though. Solo Miata's Randy Stocker has written in his site that 1.6 liter Miata engine with stock cams benefits from 6-8 deg retardation, if you are looking for max power. Advanced timing gives better torque to mid and lower revs. 

As a general rule increased overlap moves torque into higher revs and decreased overlap gives better torque in lower revs. Explanation is that overlap improves gas exchange in high revs but decreases vacuum in low, which results in lower intake velocity and poor mixing. 

For cams in general, a couple of rules apply. Increased lift increases flow across the power band, but extremely high lifts (1,5 times the original, maby) can make intake velocity to drop in low rpm. Increased duration moves power band higher up at the expense of lower revs.  

B6ZE WITH STOCK, 264/9 AND 272/9 CAMS

So what happens in real life with B6ZE? Here are two examples. Baseline is from Import Tuner Magazine's archives (intake, exhaust and JR cat). Real life examples are from two Finnish private engine builders, both measured at the same dyno. Graphs are in rear wheel figures.  Pay attention, don't concentrate on the numbers! Note how the torque curves look like and where the power starts to drop. 

Nro 1 specs: 79 mm high comp pistons (1.64 liter), 3-angle ground stock valves, mild street porting port matched intake manifold, 4-2-1 header (origin unknown), stock cat, sports exhaust, afm delete, stock 56 mm throttle body and 264deg/9mm Schrick cams (German street and racing cam manufacturer).

Nro 2 specs: 81 mm high comp pistons (1.7 liter), 3-angle ground stock valves, mild street porting, port matched intake manifold, Racing Beat 4-1 header, high flow cat, sports exhaust, afm delete, stock 56 mm throttle body and 272deg/9mm Toda Racing cams (Japanese). 


First I must note, that there is an odd dip in Nro 1’s torque curve. I think that could be sorted with some map and/or intake tuning.

Some observations:
- Schricks start to pull as low as the stock cams
- Torque stays up about 1000 rpm higher with Schricks (measured at a point where still 95% of max torque occurs)
- 95% of max power at 6800 rpm with stocks and and at 7300 rpm with Schricks
- Todas start to show some peakiness, as they start to pull hard from 4000 rpm
- Todas keep torque up until about 7300 rpm (95% rule)
- 95% of max power at 8000 rpm with Todas
- All three engines are running with stock intake manifolds and throttle bodies
- Torque/displacement-comparison shows no significant increase in max torque, but increased flow in high revs pumps power up

SAME CAMS – DIFFERENT TIMING

Here is a demo how timing affects the torque and power. Test was done with engine Nro 2. You can see that increased overlap (from 8 to 26 @ 1 mm) makes higher numbers from mid to high revs. But what really happens here? In theory bigger overlap should give better flow in higher revs. Max power gains are moderate, only about 5 rwhp. Torque gains are significant, but they are in mid revs. Retarded timing was also tested. It slightly dropped torque between 4k and 5,5k, but had no effect in high revs.


Obviously engine has reached its maximum torque, about 140 rwNm, in current setup and flow reaches its limit at 6750-7000 rpm. What happens when intake cam is advanced, in this case 9 degrees, is that dynamic compression increases. Advancing intake means that valves open earlier and also close earlier. Early closing means that there is more cylinder volume to be compressed, thus higher dynamic compression. More compression -> higher thermal efficiency -> more torque.

CAM TIMING CHARTS

Here is a collection of timing charts illustrating different cam timing options. It is easy to see overlap in degrees in circular timing charts. ‘Valve lift versus crank angle’ -charts demonstrates overlap in millimeters. If you find this information useful, please leave a comment!


CONCLUSION


More torque requires more flow. In reasonably tuned hot NA engines practical maximum torque per liter seems to be in 110Nm/l ballpark (in crank figures for 'hot street tune’). High torque in high revs means high power. To keep torque up above 7000rpm is a true test for engine’s, and B6ZE's, breathing abilities. For that, I would suggest, you need unrestricted (preferably tuned) intake and exhaust plus high flowing cylinder head with larger valves and 280 deg or bigger cams.

Sunday, January 26, 2014

Chassis supports and door bars – project ready


Chassis supports are now ready and welded in. Door bars still need to be painted. Templates were accurate enough to make the final fitment easy. The biggest effort was cutting the 3 mm steel plate with angle grinder. Top looks wasn’t the priority this time.


I was lucky to get help from a fellow race car builder who suggested a couple of smart changes: to add triangle plates, use sturdier tube for door bars and make them removable. It’s a street car after all. Door bars are made of 38x3 mm steel tube and bolted on to the support in the front and to the roll bar in the rear.


The idea was to weld the door bar front mounts as high as possible, and still keep the car entry easy.


And here are the results: before and after comparison. Bending reduced roughly to the half. On the road chassis feels more solid and car responds to steering inputs crispier than before. In general it felt like new set of stiffer shocks was installed. Shakiness and 60 mph shim are also gone. Am I satisfied? Yes I am. It wasn’t realistic to expect bending go down to zero. Current situation is a clear improvement and stiffer bushes are next on the list.


Thursday, January 9, 2014

Chassis support preparations


In previous post I wrote that no deflection was noted when measuring “O” and “P”. That was incorrect. Once the rear was jacked up deflection in “C” and “D” increased about 2 mm. In my notes I had written that “it was difficult to do measure “O” and “P” accurately (alone with measure tape…)”. So in the future let’s just concentrate on “C” to “F”. Also slightly loose roll bar bolts could play a role here. Oh well, I must tighten the bolts for next round.


Here is a photo from miataturbo.net (http://www.miataturbo.net/race-prep-75/some-seam-weld-photos-59541/page2/#post761185) forum. There is a great thread about race prepping the chassis. I draw my supports in black. Number one connects floor to the sill and side frame, and number 2 connects fire wall. I am not going to take the dashboard out to make things easier…and harder.


So far I have made models from 1 mm thick aluminium sheet that I found from scrap bin. That is why there are odd holes. The idea is to make the final support (support 1) from 3 mm thick steel and weld it in. I’ll also add a traditional triangular steel sheet (support 2) to the corner.

Monday, January 6, 2014

Stiffer chassis for Miata - please


Believe me, I have carefully studied all the existing methods of getting Miata’s chassis stiffer. The result is that there are as many solutions as there are car builders. Frame Rails, Frog Arms, butterfly brace and front/rear sub frame braces are all marketed to make Your Miata more solid. Well, they most certainly do so, but would they help me to deal with my “chassis issues”?

To find out where my Miata’s chassis flexes I decided to make a series of measurements. I used a “jack it up” method. This was basically the only way to use enough force to make the chassis bend and twist. The conditions are static and they do not simulate actual driving situation, but the measurements give an overall picture how the chassis reacts.


Here is what I found out. Rear is well attached to middle section (the floor and center tunnel). Front instead isn’t. For some reason the front bends down when front wheels are jacked up. Pivot point is more or less where the floor and door sills end and fire wall begins. Chassis also twists. Deflection was measured between six different points. “O” and “P” didn’t change at all and that is where I reasoned that the “rear end was stiff” (Correction: "O" and "P" deflection was about 2 mm once the rear was jacked up. Some error and uncertainty could have come from loose roll bar.) Changes in the other measures are shown in the graphs. Bending is quite heavy. 7 mm deflection in the height of the find screen frame means the front is bending down about 4-5 degrees.


The following pictures show deflection when only on side is jacked up. This time I used a dial indicator for improved accuracy and to verify my rougher tape measurements. It was surprising to find out what kind of an effect the lifting point has. This was another proof that the problem was the weary connection between the middle section and the front.


Conclusion:


Because my Miata’s chassis behaves like this I believe that neither Frog Arms, Frame Rails nor bolt on roll cage will work. Why? Because they don’t attach the front to the rest of the chassis. (See first picture in this post.)


My plan is to first weld a couple of supports to the chassis that connect floor, door sill, fire wall and front chassis. Here is the first template fitted in. After that I will add door bars that connect front and rear. This should help!


Last I must emphasize that I am not building a race car. With this modification I am hoping to get some extra stiffness so that future modifications to suspension can have their full effect.

Thursday, December 26, 2013

Track fun from past years

It is amazing to watch old track videos and realize that nothing major has happened. Especially when bunch of eager amateur weekend racers want to show their best, someone should definitely hit a barrier or some other obstacle. Well ok, sometimes that did happen but luckily no one got seriously hurt!

I have selected here a couple of videos from the past seasons for you to watch. Back in 2008 youtube had only limited capacity for video uploads and that shows. I filmed the earlier videos with a Panasonic compact camera. It recorded quite decent 480p video, but it had to be heavily packed to make it fit youtube’s limitations.

Hope you enjoy!

This was filmed during Radalle.com track day in 2008. These events are open to everyone and usually very crowded. Lover than average video quality, noisy audio but lots of overtaking with 132 hp Miata!
Best parts in first 5 minutes.
- Mitsubishi EVO, Mk1 Supra, Opel Omega, RX-7, Porsche 944

Screaming 8000+ rpm single lap from 2010! Revlimiter was set to 8500 rpm since engine was still making good power up there and I got away with fewer gear changes. Very nice engine tone from open cone filter and aluminum intake plumbing, average 480p video quality and some tire squeal.

Open racing practice in 2012. This was my first video with multiple angles. Nothing really special happens here, some corner exit power slides, one mild-ish throttle tap drift at 3:32 and two race cars. Put HD720 on!
- Legends race car, Citroen DS3 R3 rally car

Miata Club of Finland’s track day at Alastaro in 2013. A fellow member wanted some footage of his driving, so I tried to keep up with him. 100hp/Nm extra makes a difference! This was also a test for a chin mounted Hero2-camera. Put HD on!

Radalle.com track day at Motorpark in 2013. This stint turned out to be a true -90’s battle!  At 1:20 I let a Ferrari 348 TS pass me and then followed it. Eventually we caught a Honda Civic VTi with slightly tuned B18 that was competing in Time Attack Club –class. We passed it and after that also E34 5-series drift car. Audio quality is not good. Hero2’s internal microphone is poor and open top makes quite lot turbulence. Something to be dealt with…


Tuesday, November 26, 2013

Need 4 Suspension


Let's face the fact; my MX-5's suspension is stock. Yes, I have done some improvements and installed a couple of upgrades but neither Koni Sports Kit nor a set of H&R anti roll bars really mean it's race ready. The car is drivable and pretty fast by all means and the whole package is in balance on the track. Obviously I have learned to adjust my driving style according my current setup. I could benefit from having 100 extra horses under the hood, but after that current balance would be gone. Further engine mods have to wait for a while then.

The best single handling mod so far has been my current tires. That was no surprise! Before that it was racing inspired wheel alignment and before that Koni’s sport suspension.

Real need for further upgrades came along with stickier tires. My current Yokohama AD08s offer a lot more grip compared to Toyo T1Rs. Higher grip has resulted in increased compliance of the suspension. Increased roll and change of the tire alignment in fast corners are the symptoms. T1Rs in the front wore evenly but AD08s are starting to take the heat more on the outside of the tread. So, what is happening here? Obviously 22 years old stock bushes are starting to give in and my camber angles are “dialing in”.


The other issue is decreased chassis rigidity. Front and rear are starting to feel even more detached than before. When a pot hole or a kerb on track is hit, a horrible wobble occurs. If car is jacked up from only one point the flex can be seen with bare eye when the door seams are not in line anymore.

Here is what I am planning to do. First I am going to get the front and rear attached again by installing door bars. After that polyurethane bushes and some sort of coil over solution have their turn. Stiffer bushing and springs won’t have their full effect without increased chassis rigidity. I want my suspension to do the work instead of the chassis.