Saturday, December 6, 2014

Klaus Ludwig’s 1988 DTM Title Winning Ford Sierra RS500 Cosworth - Alive Again!


The one and only, the legendary, Klaus Ludwig’s 1988 DTM title winning car Ford Sierra Cosworth RS500 is presented in its original winning glory. Where? In Finland – of course! This unique piece of European racing heritage is so amazing that it deserves to be brought into public attention.

The owner of the race car power house - Sarlin Race Team - Kalle Sarlin did not just win the Finnish Touring car championship with this same Sierra Cosworth in 1991, but he also took the time and effort to take this classic back to its original glory.

Kalle and his crew started the restoration of this fine piece of machinery about ten years ago. It has taken hundreds of hours to get it to this point where everyone can let their eyes feast on its beauty. The restoration began from the bare body shell and continued step by step until the current state was reached.


Nowadays to an untrained eye it might just look like another Ford Sierra with some stickers on it. But to all of you guys who know what to look for its obvious that this beast is nothing but business. Wide racing slicks wrapped around three piece BBS magnesium alloys with center-locks are yelling “No, it is not another tuned 3-door Sierra with graphics”.
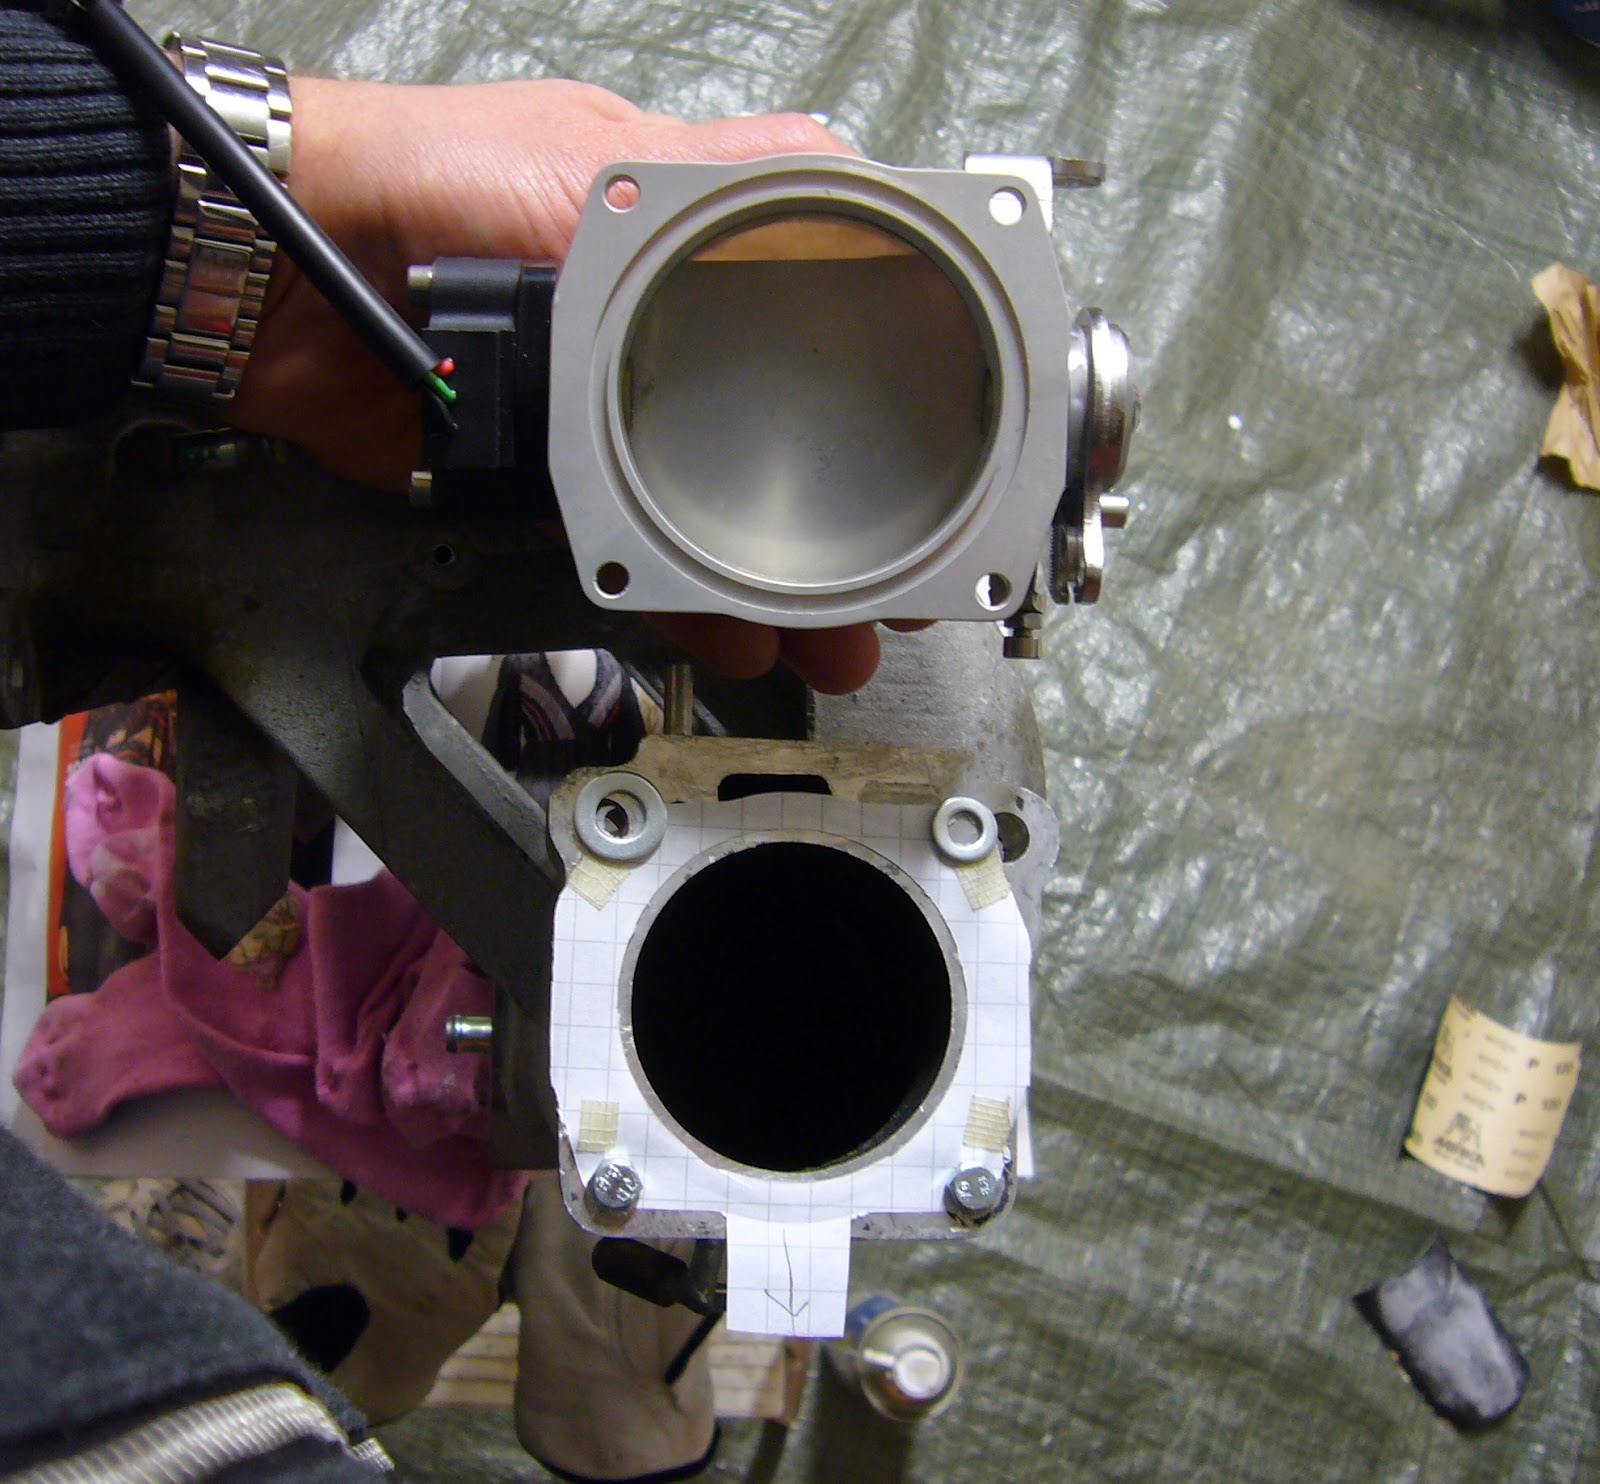
Under the bonnet lurks a turbocharged 2-litre RS500 racing engine. This Ford’s YB-series 16 valve DOCH inline four has been seriously refined to be able to take the heat of the continuous racing. Garret’s T3/T4 turbocharger feeds compressed air to the engine through a big air-to-air intercooler. Group A cylinder head and Group A pistons guarantee that neither the airflow nor mechanical strength becomes an issue. Three external fuel pumps and 8 injectors make sure that the air fuel ratio stays where the Bosch Motronic MP1.7 engine management system commands it to be. Roughly 480 hp is transmitted to the rear wheels through a sand casted Getrag 5-speed gearbox and a Ford Motorsport 7.5” differential. Both gearbox and differential are cooled with PWR oil coolers.

What is a race car without a proper suspension and brakes? A street car, perhaps. Well, in this case nothing but Ford Motorsport Group A magnesium uprights, Group A magnesium rear arms, quick steering rack, Bilstein coil-over shocks (front/rear) and adjustable front anti-roll bar are there. The brakes are from AP-racing with 4-pot calipers front/rear and vented rotors 330x35 mm front plus 304x28 mm rear.


As if all of the above mentioned was not enough, the list of the goodies goes on: Factory RS500 front lip spoiler, bumpers, twin rear spoilers, heated windscreen, seam-welded chassis, FIA-spec multipoint roll cage, air jacks, Recaro SPA carbon/kevlar seat, 6-point harness, Bosch Motorsport LCD display and so on...


Oh, what mechanical beauty.

Article update: Cossie has found a new owner, and I have been told, had some serious track time on the Nürburgring!

Follow SRT also in facebook:

Thursday, November 6, 2014

More NA POWER part 5: 100 bhp per liter in 1.7 liter B6ZE


My engine tuning project has finally achieved its goal - to make 100 crank hp per liter in naturally aspirating form. Current maximum figures are 173 hp of power and 181 Nm of torque (crank). And max figures are not all, torque peaks up at 4000 rpm and there is usable power up to 8000 rpm. Let’s first take a brief look at the previous modifications and then inspect the current setup a bit closer.


In 2008 basic bolt ons with oem cams produced 132 crank hp and 151 Nm (105 rwHp and 124 rwNm). That was all I could get out of a 1.6 liter engine with bone stock internals and a larger RX-7 AFM.

In 2009 the engine was bored to 1720 cc with high compression (11:1) Toda Racing pistons. The head was mildly ported with oem valves which were left untouched. Also Toda Racing 272/9 cams (in&ex) and solid lifters with stiffer springs, measured to be good for 8300 rpm with safety margin, were installed. Conrods were still the old ones with about 140 000 km behind. There were no adjustable cam gears and the catalytic converter was bone stock, also possibly clogged. Van Kronenburg Management System’s fully adjustable ECU was wired to have a command on the injection and ignition. This setup produced 156 hp / 175 Nm (121 rwHp / 147 rwNm). After the build I had almost two years of happy high revving when the original conrods finally gave up. It luckily happened with no drama as the engine suffered a spun rod bearing.

Forged Toda Racing pistons (3 mm oversize) and CP Carrillo A-beam rods, 110 grams less than stock.

In 2011 as the engine was torn apart for the bottom end rebuild the cylinder head also went under maintenance. The block received a factory new long nose crank, Carrillo A-beam rods, ACL Race Line bearings, Toda Racing pistons and Toda Racing light weight flywheel - all dynamically balanced.  New valve guides were installed and stock valves received a three angle grind to improve the head flow. Old cam gears and worn cat were replaced with Toda Racing adjustable gears and Catco’s metallic 400 cell unit. Instead of the standard 1.0 mm thick head gasket a 0.8 mm thick optional part from Toda Racing was installed to increase the compression ratio to about 12:1. I also wanted to lower a bit high intake air temperature and fabricated a sealed airbox that was supposed to produce a ramming effect in higher speeds. With revised cam timing this setup produced an estimated 160 crank hp. Crank power is estimated because this time a hub dyno was used and the measured figures were 132 rwHp and 142 rwNm. I was getting closer to my 100 crank hp per liter goal!


During the 2011 dyno session it was noticed that the original throttle body started to restrict the flow (a vacuum was building in the intake manifold over tb). Another visit to the hub dyno was made in 2012 with a new 60 mm diameter throttle body installed and ported to the intake manifold. The result was a bit disappointing with only minimal gains (135 rwHp and 145 rwNm). At this point the airbox started to be the main suspect for creating a bottleneck.

AT Power 60 mm 'Shaftless' throttle body required some porting to the intake manifold.

Finally this spring I made the latest to the dyno (inertia type once again). A wanted to make a back to back comparison with the old airbox and the new “cold side” cone filter intake. I prepared for the dyno session by checking the valve lash and noticed that they all were on the loose side. Meticulous adjustment to the specs (0.20 mm intake and 0.25 mm exhaust) was done. I also checked that the intake manifold was port matched to the head. First pulls on the dyno with the old airbox indicated restricted flow above 5500 rpm. Peak torque was 159 rwNm at 5000 rpm and after that the curve sank to about 150 rwNm. Max power was 138 rwHp.


After that the new intake was installed and it was time for the final pulls. And there it was! The torque stayed up till 6750 rpm, and maximum output of 173 crank hp (144 rwHp) was achieved.


What is the most noteworthy, in my opinion, is that this motor runs on a stock intake manifold, although port matched. The head porting is also mild, I would call it a “fast street porting”, and stock sized valves are used. The potential of producing current figures has always been there but the output has been hampered with various restrictions. In the very beginning it was the displacement and cams. Then it was the flow of the cat, improper cam timing, restrictive throttle body and intake plumbing.


So, what is the current bottleneck? Evidently there is something restricting the flow above 7000 rpm. Intake runners, stock valves, current cam profiles, exhaust manifold, 2” catback exhaust pipe or something else. Stretching the power band 800 – 1000 rpm higher would be good for another 15 to 20 hp. We will see…


Sunday, May 25, 2014

Miata Camber Gain and Latest Suspension Mods


It was about time to get rid of the original rubber bushes that had taken the beat at the track and resisted the wear and tear of road use for 23 years. I installed a complete set of Energy Suspension poly urethane bushes during the winter. The job was quite straight forward and I could complete it in my ordinary garage. It took some time but I was not in a hurry.


I also wanted to replace my old Koni Sports Kit with something more suitable for racing. Most of the track oriented guys here in Finland have opted for BC Racing. They seem to work nice and customers are satisfied. I must admit having an issue with BC-racing shock coming from Taiwan. I also don’t like the high spring rates they use. I know, they are not all bad and BC’s kits evidently work nice. Another issue was money. Bilstein, Öhlins, KW, AST, JRZ and Koni all make excellent shocks and complete kits, but they come at a price – too high for me.

So, after some consideration I took my old shocks to the local Koni importer who offers an inspection service for all of their products – free of charge. And guess what, they were as good as new! After a short chat with the mechanic I decided to keep them and try to find adjustable perches with slightly stiffer springs. It did not take long to find out that Ground Control Suspension Systems in California had what I needed. I was more than happy that a set of Eibach racing springs was included in the kit. I went for 6,6 kg in the front and 4,4 kg in the rear, which the Koni mechanic recommended was a good starting point. Shocks could be revalved afterwards if stiffer springs were needed. I must emphasize that at the Ground Control the quality of the service was as excellent as the quality of the kit – I have nothing but good feedback to give!

While I was waiting for the GC-kit to arrive I made some basic research and measured Miata’s camber gain. Both front and rear were first set to a reasonable suspension height ( 310 mm front and 325 mm rear from the wheel hub center to the fender flare). Then I simply jacked the wheels up while the car was on four jack stands and measured the change of the camber angles. The gain is roughly 0,5 degrees per 10 millimeters of wheel travel, both front and rear.


I could not be happier with these two simple mods. Combined with increased chassis rigidity and more aggressive wheel alignment the car really has started to take corners. I was able to shave of almost two seconds from my best lap time at the first visit to the Ahvenisto racing circuit this spring.

The car feels more planted, steering inputs are more precise, front-rear weight transfer and body roll are reduced and the overall driving experience has become more effortless. This is a good start for the season 2014!

Monday, March 10, 2014

Chassis supports – 2nd measurement


I made a couple of additional measurements motivated by a reader’s comment. Last time in “Chassis supports and door bars – project ready” I used car’s own weight to bend the front and rear downwards. This time I put weight on the door sill and measured the bending that way.

Here are the results:

Weight 70 kg, without door bar. Left: 0,35 mm. Right 0,35 mm.
Weight 70 kg, with door bar: Left: 0,27 mm. Right 0,27 mm.

Weight 100 kg, without door bar. Left: 0,51 mm. Right 0,49 mm.
Weight 100 kg, with door bar: Left: 0,39 mm. Right 0,40 mm.

Conclusion is that door bars reduce bending 18-23 % when measured with 70-100 kg weight. Sounds nice, doesn’t it!

Seriously, deflection with 100 kg is less than half millimeter measured from the height of windscreen frame. Bars seem to work and they give some extra stiffness to old car’s chassis.

Saturday, February 22, 2014

More NA POWER part 4: B6ZE cam specs and cam timing


It is hard to find documented data about the effect of cam timing in B6ZE. There are some general rules, though. Solo Miata's Randy Stocker has written in his site that 1.6 liter Miata engine with stock cams benefits from 6-8 deg retardation, if you are looking for max power. Advanced timing gives better torque to mid and lower revs. 

As a general rule increased overlap moves torque into higher revs and decreased overlap gives better torque in lower revs. Explanation is that overlap improves gas exchange in high revs but decreases vacuum in low, which results in lower intake velocity and poor mixing. 

For cams in general, a couple of rules apply. Increased lift increases flow across the power band, but extremely high lifts (1,5 times the original, maby) can make intake velocity to drop in low rpm. Increased duration moves power band higher up at the expense of lower revs.  

B6ZE WITH STOCK, 264/9 AND 272/9 CAMS

So what happens in real life with B6ZE? Here are two examples. Baseline is from Import Tuner Magazine's archives (intake, exhaust and JR cat). Real life examples are from two Finnish private engine builders, both measured at the same dyno. Graphs are in rear wheel figures.  Pay attention, don't concentrate on the numbers! Note how the torque curves look like and where the power starts to drop. 

Nro 1 specs: 79 mm high comp pistons (1.64 liter), 3-angle ground stock valves, mild street porting port matched intake manifold, 4-2-1 header (origin unknown), stock cat, sports exhaust, afm delete, stock 56 mm throttle body and 264deg/9mm Schrick cams (German street and racing cam manufacturer).

Nro 2 specs: 81 mm high comp pistons (1.7 liter), 3-angle ground stock valves, mild street porting, port matched intake manifold, Racing Beat 4-1 header, high flow cat, sports exhaust, afm delete, stock 56 mm throttle body and 272deg/9mm Toda Racing cams (Japanese). 


First I must note, that there is an odd dip in Nro 1’s torque curve. I think that could be sorted with some map and/or intake tuning.

Some observations:
- Schricks start to pull as low as the stock cams
- Torque stays up about 1000 rpm higher with Schricks (measured at a point where still 95% of max torque occurs)
- 95% of max power at 6800 rpm with stocks and and at 7300 rpm with Schricks
- Todas start to show some peakiness, as they start to pull hard from 4000 rpm
- Todas keep torque up until about 7300 rpm (95% rule)
- 95% of max power at 8000 rpm with Todas
- All three engines are running with stock intake manifolds and throttle bodies
- Torque/displacement-comparison shows no significant increase in max torque, but increased flow in high revs pumps power up

SAME CAMS – DIFFERENT TIMING

Here is a demo how timing affects the torque and power. Test was done with engine Nro 2. You can see that increased overlap (from 8 to 26 @ 1 mm) makes higher numbers from mid to high revs. But what really happens here? In theory bigger overlap should give better flow in higher revs. Max power gains are moderate, only about 5 rwhp. Torque gains are significant, but they are in mid revs. Retarded timing was also tested. It slightly dropped torque between 4k and 5,5k, but had no effect in high revs.


Obviously engine has reached its maximum torque, about 140 rwNm, in current setup and flow reaches its limit at 6750-7000 rpm. What happens when intake cam is advanced, in this case 9 degrees, is that dynamic compression increases. Advancing intake means that valves open earlier and also close earlier. Early closing means that there is more cylinder volume to be compressed, thus higher dynamic compression. More compression -> higher thermal efficiency -> more torque.

CAM TIMING CHARTS

Here is a collection of timing charts illustrating different cam timing options. It is easy to see overlap in degrees in circular timing charts. ‘Valve lift versus crank angle’ -charts demonstrates overlap in millimeters. If you find this information useful, please leave a comment!


CONCLUSION


More torque requires more flow. In reasonably tuned hot NA engines practical maximum torque per liter seems to be in 110Nm/l ballpark (in crank figures for 'hot street tune’). High torque in high revs means high power. To keep torque up above 7000rpm is a true test for engine’s, and B6ZE's, breathing abilities. For that, I would suggest, you need unrestricted (preferably tuned) intake and exhaust plus high flowing cylinder head with larger valves and 280 deg or bigger cams.

Sunday, January 26, 2014

Chassis supports and door bars – project ready


Chassis supports are now ready and welded in. Door bars still need to be painted. Templates were accurate enough to make the final fitment easy. The biggest effort was cutting the 3 mm steel plate with angle grinder. Top looks wasn’t the priority this time.


I was lucky to get help from a fellow race car builder who suggested a couple of smart changes: to add triangle plates, use sturdier tube for door bars and make them removable. It’s a street car after all. Door bars are made of 38x3 mm steel tube and bolted on to the support in the front and to the roll bar in the rear.


The idea was to weld the door bar front mounts as high as possible, and still keep the car entry easy.


And here are the results: before and after comparison. Bending reduced roughly to the half. On the road chassis feels more solid and car responds to steering inputs crispier than before. In general it felt like new set of stiffer shocks was installed. Shakiness and 60 mph shim are also gone. Am I satisfied? Yes I am. It wasn’t realistic to expect bending go down to zero. Current situation is a clear improvement and stiffer bushes are next on the list.


Thursday, January 9, 2014

Chassis support preparations


In previous post I wrote that no deflection was noted when measuring “O” and “P”. That was incorrect. Once the rear was jacked up deflection in “C” and “D” increased about 2 mm. In my notes I had written that “it was difficult to do measure “O” and “P” accurately (alone with measure tape…)”. So in the future let’s just concentrate on “C” to “F”. Also slightly loose roll bar bolts could play a role here. Oh well, I must tighten the bolts for next round.


Here is a photo from miataturbo.net (http://www.miataturbo.net/race-prep-75/some-seam-weld-photos-59541/page2/#post761185) forum. There is a great thread about race prepping the chassis. I draw my supports in black. Number one connects floor to the sill and side frame, and number 2 connects fire wall. I am not going to take the dashboard out to make things easier…and harder.


So far I have made models from 1 mm thick aluminium sheet that I found from scrap bin. That is why there are odd holes. The idea is to make the final support (support 1) from 3 mm thick steel and weld it in. I’ll also add a traditional triangular steel sheet (support 2) to the corner.

Monday, January 6, 2014

Stiffer chassis for Miata - please


Believe me, I have carefully studied all the existing methods of getting Miata’s chassis stiffer. The result is that there are as many solutions as there are car builders. Frame Rails, Frog Arms, butterfly brace and front/rear sub frame braces are all marketed to make Your Miata more solid. Well, they most certainly do so, but would they help me to deal with my “chassis issues”?

To find out where my Miata’s chassis flexes I decided to make a series of measurements. I used a “jack it up” method. This was basically the only way to use enough force to make the chassis bend and twist. The conditions are static and they do not simulate actual driving situation, but the measurements give an overall picture how the chassis reacts.


Here is what I found out. Rear is well attached to middle section (the floor and center tunnel). Front instead isn’t. For some reason the front bends down when front wheels are jacked up. Pivot point is more or less where the floor and door sills end and fire wall begins. Chassis also twists. Deflection was measured between six different points. “O” and “P” didn’t change at all and that is where I reasoned that the “rear end was stiff” (Correction: "O" and "P" deflection was about 2 mm once the rear was jacked up. Some error and uncertainty could have come from loose roll bar.) Changes in the other measures are shown in the graphs. Bending is quite heavy. 7 mm deflection in the height of the find screen frame means the front is bending down about 4-5 degrees.


The following pictures show deflection when only on side is jacked up. This time I used a dial indicator for improved accuracy and to verify my rougher tape measurements. It was surprising to find out what kind of an effect the lifting point has. This was another proof that the problem was the weary connection between the middle section and the front.


Conclusion:


Because my Miata’s chassis behaves like this I believe that neither Frog Arms, Frame Rails nor bolt on roll cage will work. Why? Because they don’t attach the front to the rest of the chassis. (See first picture in this post.)


My plan is to first weld a couple of supports to the chassis that connect floor, door sill, fire wall and front chassis. Here is the first template fitted in. After that I will add door bars that connect front and rear. This should help!


Last I must emphasize that I am not building a race car. With this modification I am hoping to get some extra stiffness so that future modifications to suspension can have their full effect.